Conventions
This website is largely based on the great MKDOCS theme MATERIAL. On this page, you'll find some conventions applied on the backend. Some content is also a reminder for GIT or specific plugin syntaxing such as TABULATOR.
Navigation
Navigation structure is quite important. Especially if you plan to use embedded images, as links tend to be relative. Keep it as simple and user friendly as possible. Test it from Mobile devices and browswers.
For images
Activated GlightBox plugin in Mkdocs/Material theme. More details can be looked-up here.
Some options are defined in the mkdocs.yml file to facilitate working with captions.
The simplest form
The text in "[text]" will be used as caption in lighbox mode (when you click on the picture).


In general, I'd like to keep images in one folder : docs/assets. So that folder should be accessible with an absolute path that I can use from whatever markdown file. However for blog posts, it is easier to copy selected photos to a dedicated folder. Then add a specific blog entry to reads from that folder with relative links. In both cases, images will be handled via GlightBox Plugin.
Enhanced Image display
In addition, Image display can be somewhat enhanced. This requires some html injection. Enhancement may apply to :
- image size
- mixing Lightbox Caption and Image title
<figure markdown>
{ width="400" }
<figcaption markdown>Image displayed with a width of "400"</figcaption>
{ width=400px }
<figcaption markdown>Image displayed with a width of 400px</figcaption>
{ width=50px }
<figcaption markdown>Width is set at 50px</figcaption>
{ width=50% }
<figcaption markdown>Width is set at 50% and can scale</figcaption>
</figure>

Image displayed with a width of "400"
Image displayed with a width of 400px
Width is set at 50px
Width is set at 50% and can scale
Cross-referencing
Markdown/MkDocs only converts / to /docs location for .md files. All other files will default to relative path. So when moving .md files around, you need to keep the cross-referencing in mind.
For hyperlinks
[Displayed Link](https://squidfunk.github.io/mkdocs-material/)
Using cards
There's a nice plugin called neoteroi cards which allows to display cards which combined with images can be similar to a photo gallery. In the end I decided not to use it, but it is still good to keep the option open. The url feature is sort of being prevented when glightbox is active though - both functionalities seem mutually exclusive (despite the skip_lightbox option).
::cards::
- title: Day 1
content: Example of **neoteroi** card plugin
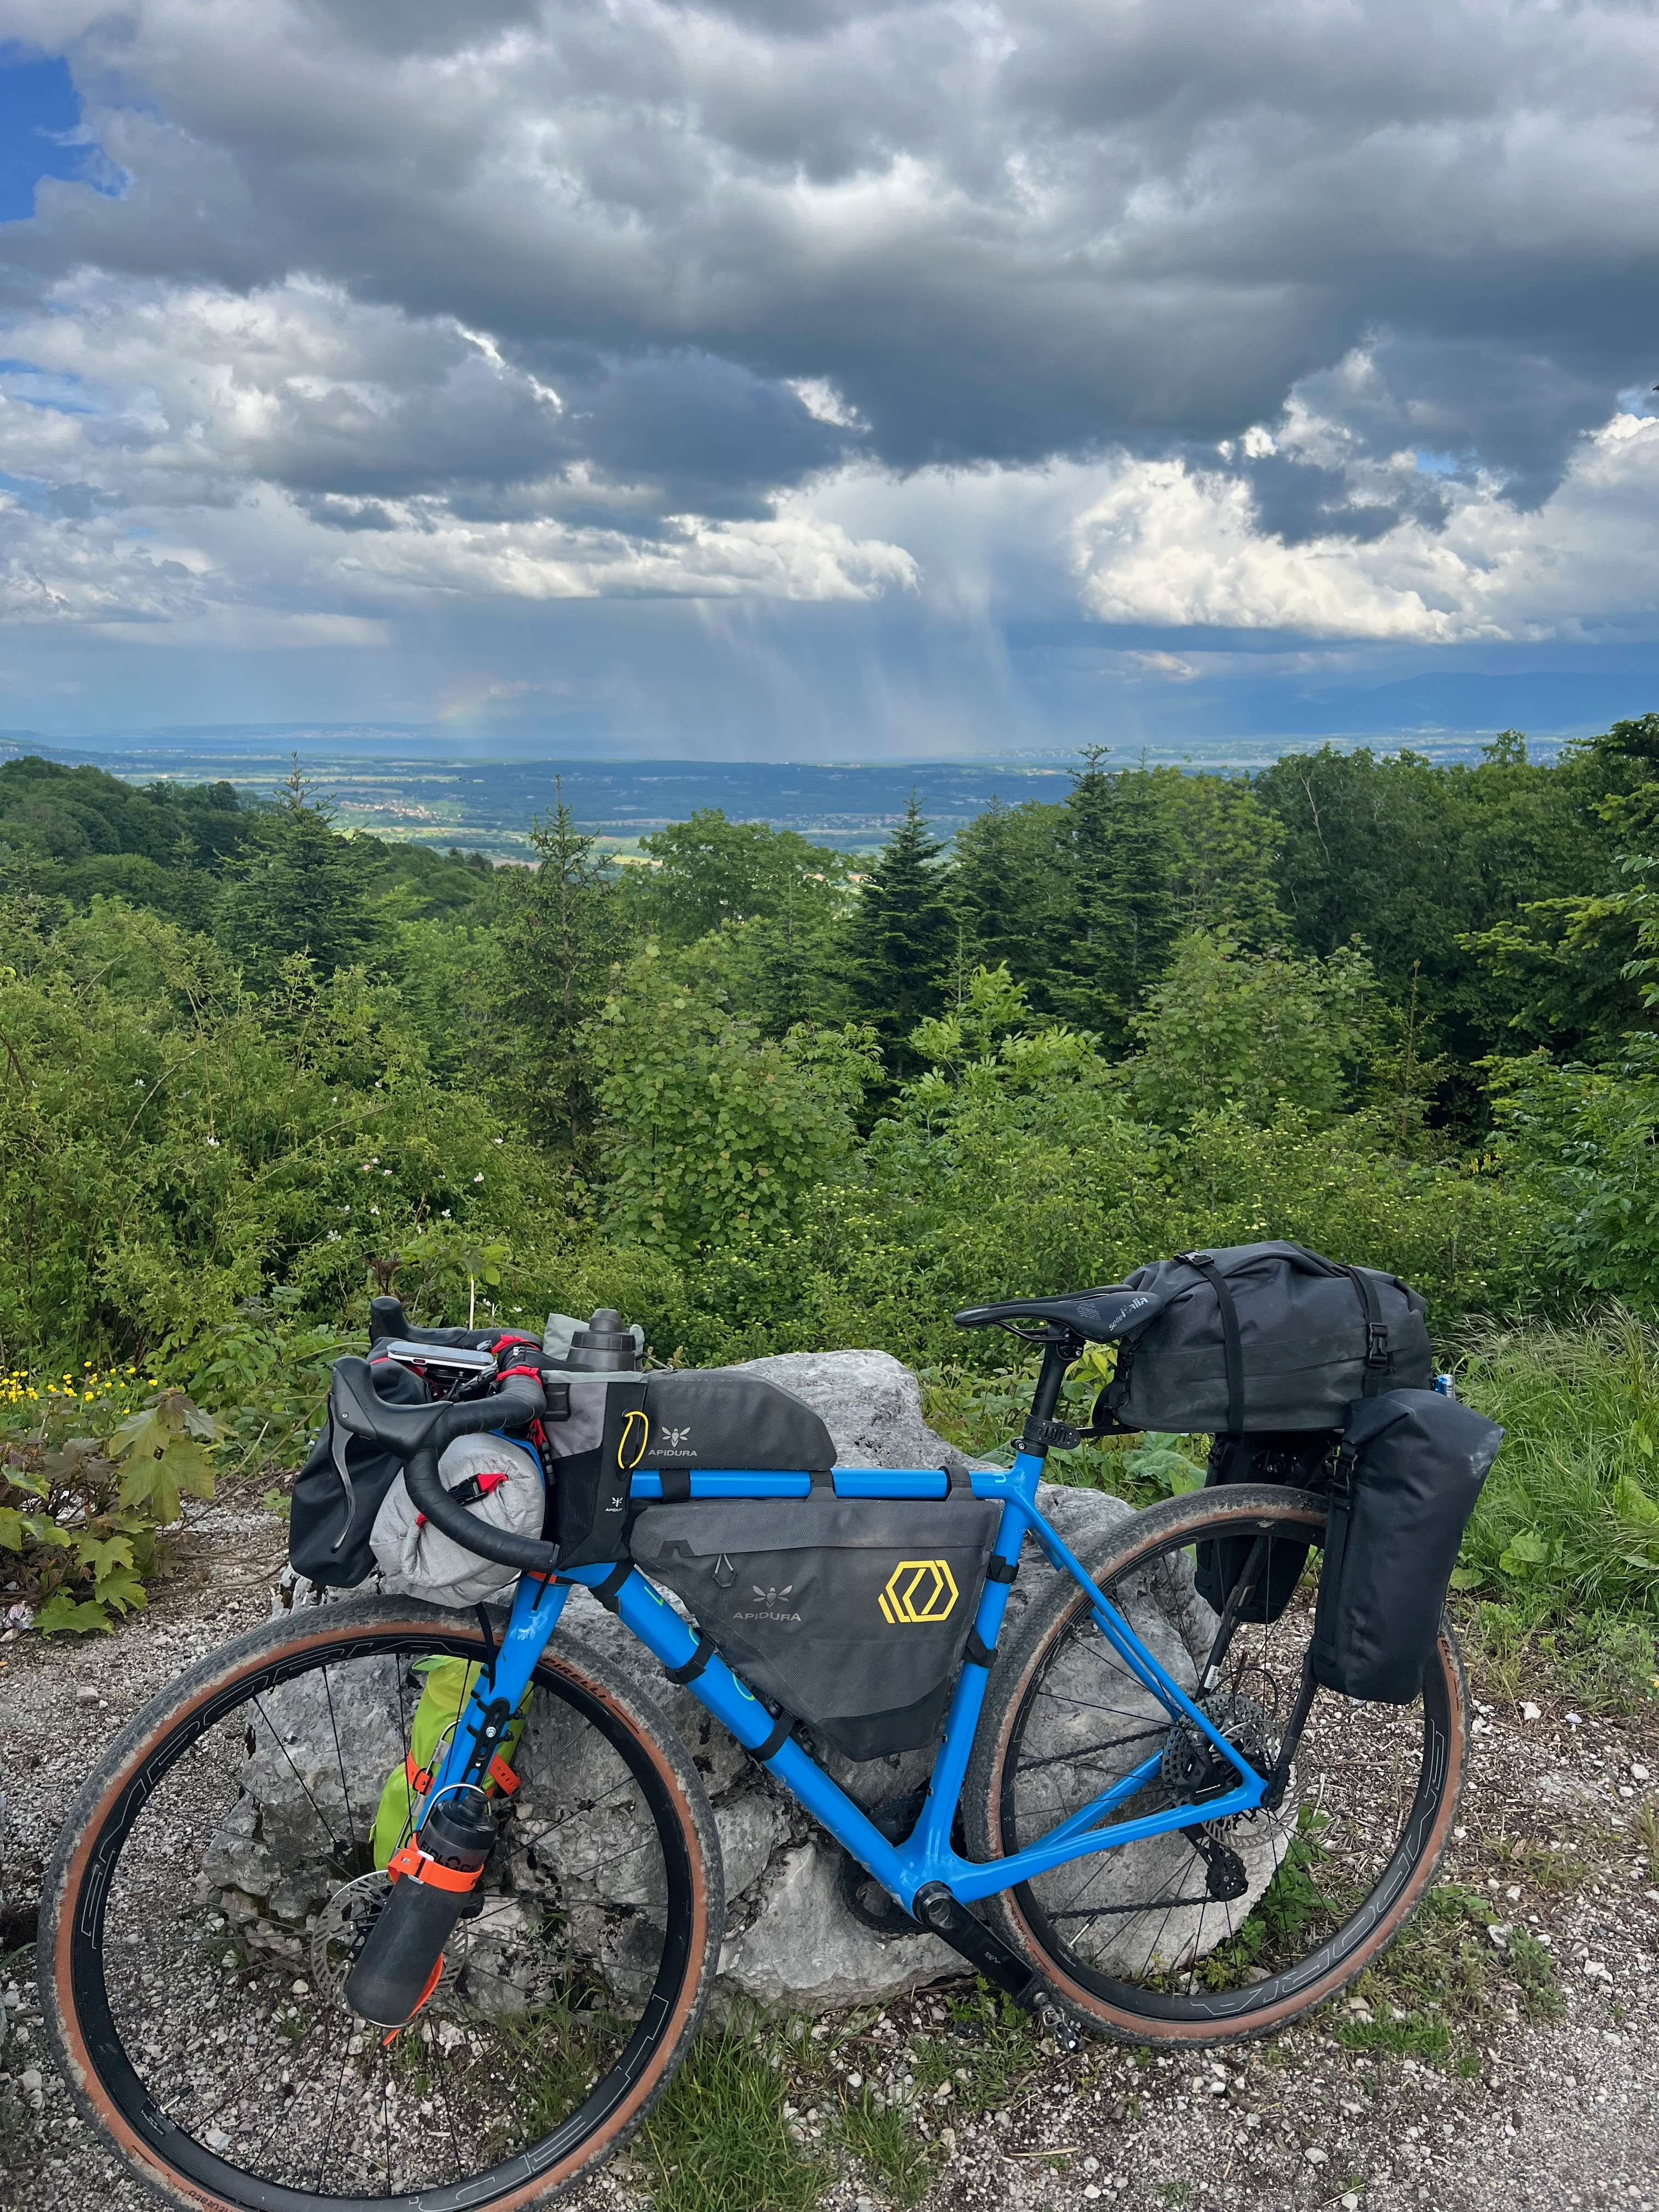
image: assets/images/openup.jpeg
- title: Day 2
content: Cards can help display photos as a **gallery**
image: assets/images/Garmin_messenger.png
- title: Tour Divide
url: https://bikepacking.com/routes/great-divide-mountain-bike-route-gdmbr/
content: Cards might be combined with a url as well,
but only with Glightbox disabled or without image in the card.
::/cards::
Which renders as below :
Day 1
Example of neoteroi card plugin
Day 2
Cards can help display photos as a gallery
Admonitions & content tabs
This is quite a neat feature. And may also allow a storytelling across different illustrations. Watch the quotation marks, they can be twisted by your editor/keyboard language. They need to be plain. Also content within content tabs need to be indented vs. their headers.
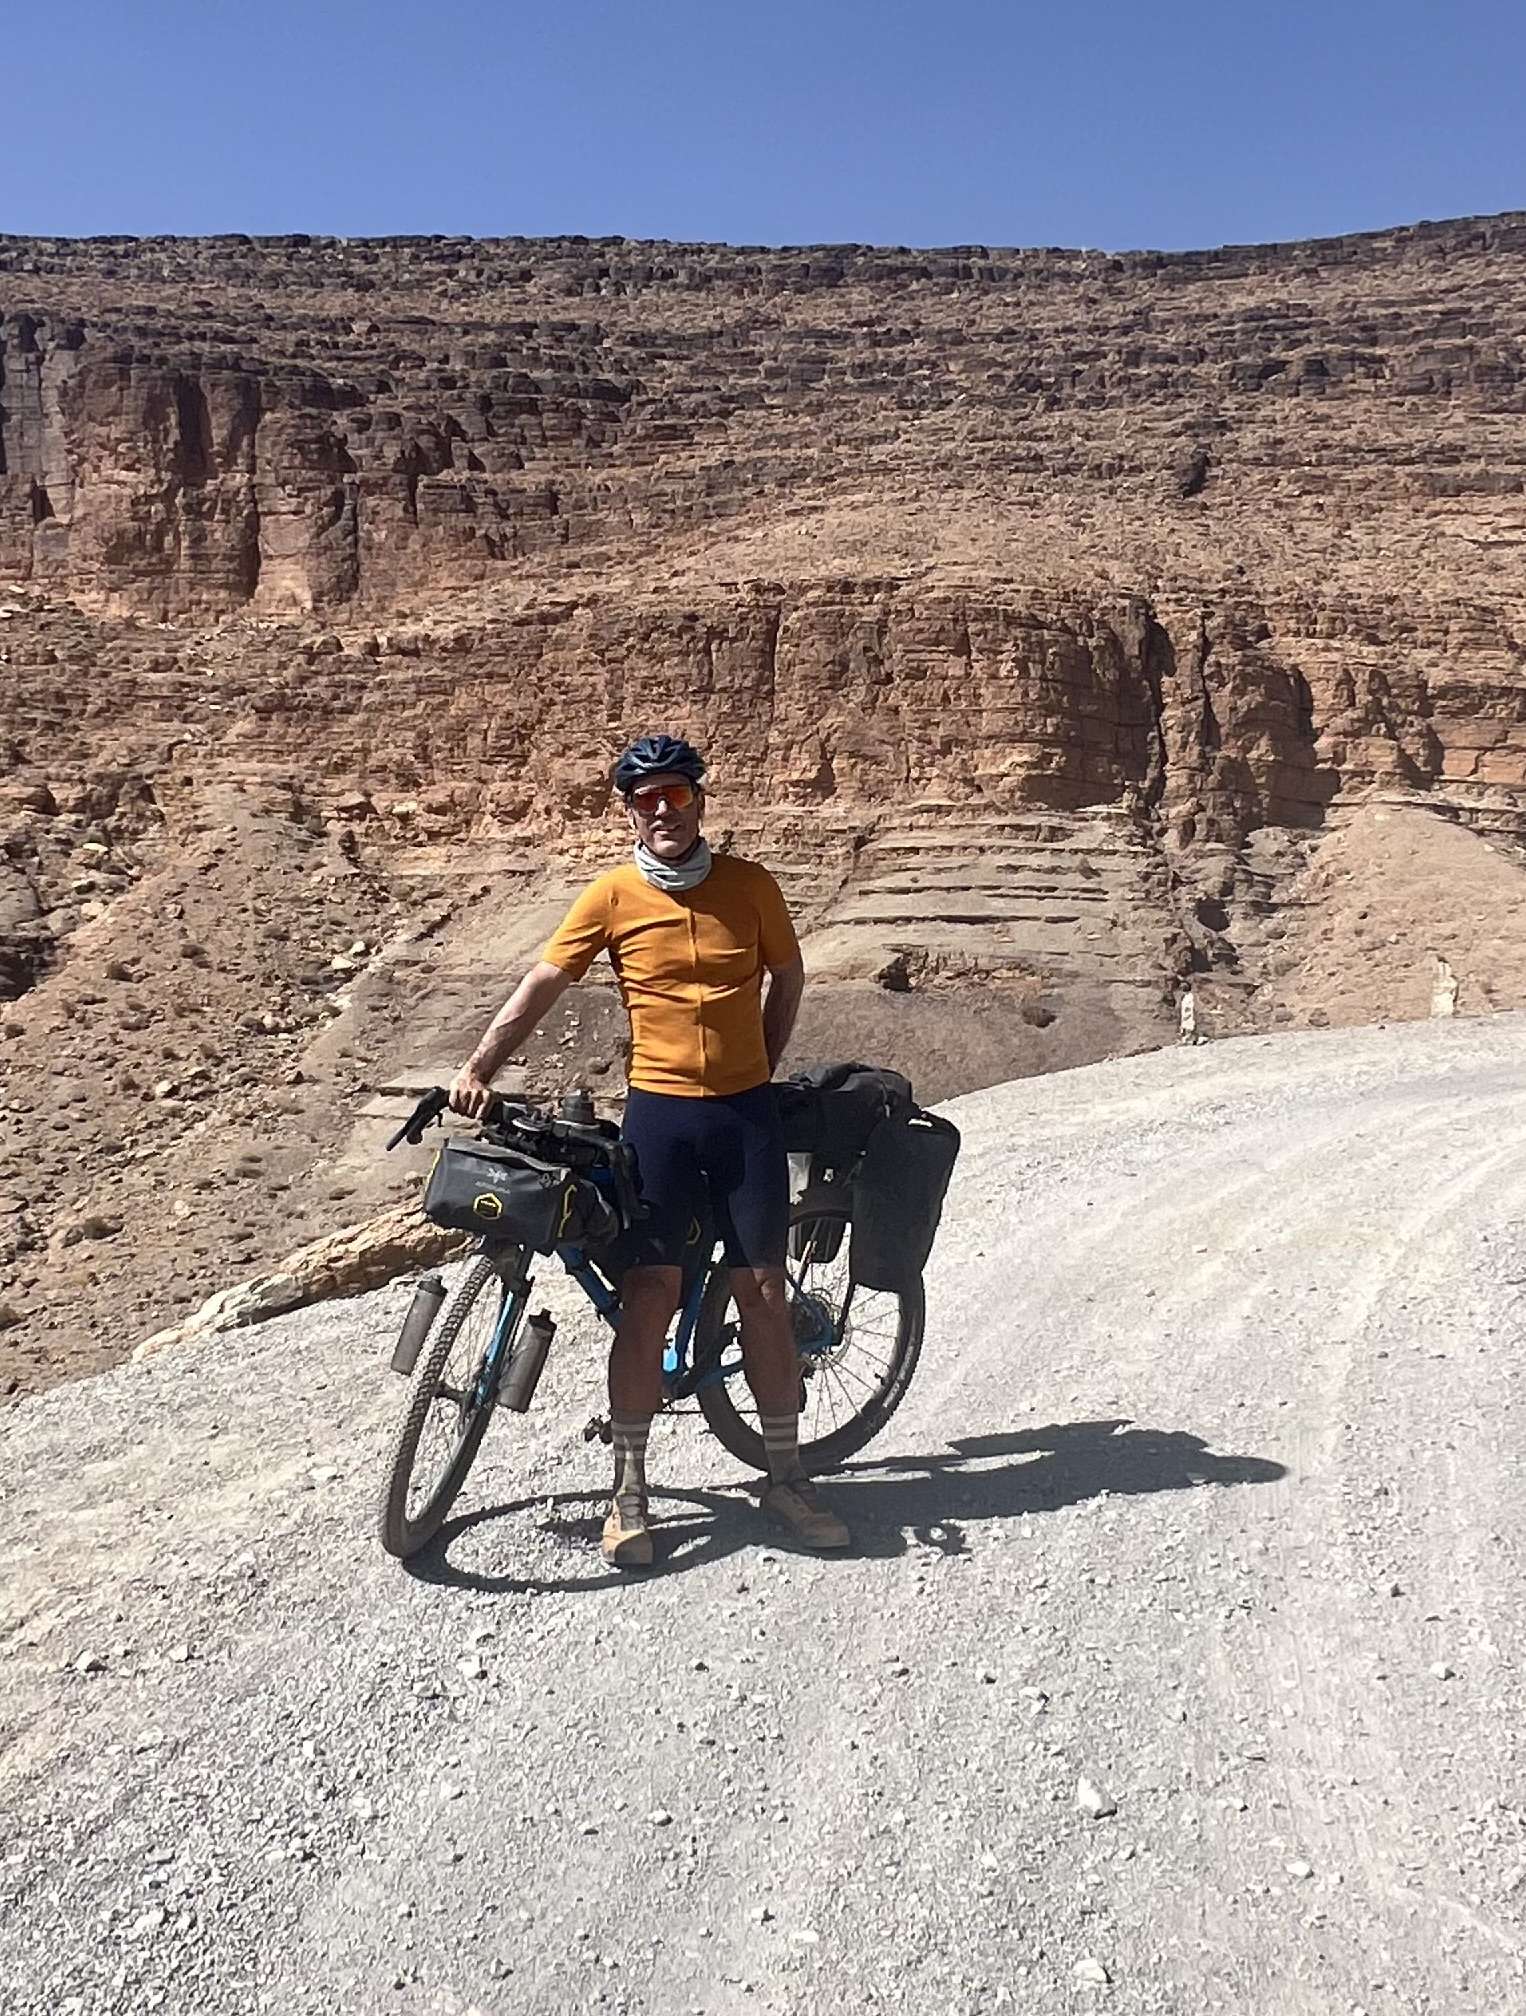
!!! example "Morocco inspiration as header"
Morocco was a cornerstone in my decision making for the Great Divide!
=== "let's do it"
<figure markdown>
{ width="300px" }
<figcaption>The journey actually started beginning 2023 when I purchased my Gravel from Open Cycle, kudos to Andy Kessler and Gerard Vroomen for their vision.</figcaption>
</figure>
=== "let's do it without header"
Image has a size of 300px.
<figure markdown>
{ width="300px" }
</figure>
=== "without defined image size"
<figure markdown>

</figure>
Morocco inspiration as header
Morocco was a cornerstone in my decision making for the Great Divide!
Image has a size of 300px.
!!! notes ""
We can remove the header, and only show images.
<figure markdown>
{ width=300px }
{ width=300px }
</figure>
We can remove the header, and only show images.
OSX Terminal
OSX Clean install
Pre-requisites
I am basically using the following reference sites for my work :
- Material for MKDOCS theme
- Homebrew package manager to install dependencies
- Python Virtual Manager
Step-by-step
- Create a folder to host all your dependencies.
- Put a "requirements.txt" file, that lists your required libraries ; it will be similar to the one you have in Github workflow
- OSX has by default Python, PiP and Git installed :
which python3
which pip3
which git
- Brew is a package manager. It is recommended to install it as well. The command line is the most straightforward. Check out brew.sh website.
brew command is not found
Note that your Terminal may not locate the Brew executable (“Which brew”). Then you should tell your shell where to find it. Use the following command to edit the look-up list.
echo "export PATH=/opt/homebrew/bin:$PATH" >> ~/.zshrc
From here onwards, we recommend to run all dependencies within a virtual environment. It is a best practice to clone/edit/build/serve/commit from local git repositories using a localized (virtual) python environment. Here's how to set it up. I decided to do it in one single place ie. my venv folder is above and across all my projects. An alternative is to have it by project and to exclude it with .gitignore if you need differentiated environments:
python3 -m venv venv
. venv/bin/activate
You have to deactivate once finished. If you want to start-over again and re-set your virtual environment, just delete the "venv" file.
deactivate
Material MKDOCS repos
To work with my Material MKDOCS repositories from Github, I resolved to use a single requirements.txt list to configure my virtual environment. As I am leveraging the optimize and social plugins of Material Theme Insider Version, I run into some tricky dependencies with cairo and pngquant libraries:
pip install -r requirements.txt
brew install pngquant
brew install cairo freetype libffi libjpeg libpng zlib
OSX : the following is a workaround to ensure libraries are found.
export DYLD_FALLBACK_LIBRARY_PATH=/opt/homebrew/lib
GITHUB : the following also seems a required workaround to ensure libraries are found. Add it into the main.yml workflow file. I found that the ubuntu latest doesn't work out of the box.
- run: sudo apt-get install pngquant
Useful Git instructions
Sometimes it is tricky to upload large a/o many files from local to remote git repository. Tweaking the git buffer size seems to do the trick:
(venv) git config --global http.postBuffer 157286400
This GIT parameter will allow to store your Private Access Token into Keychain, so that you don't need to re-enter it each time. You need to enter the token once though as explained on Github Gist :
(venv) git config --global credential.helper osxkeychain
When you start working on a local repository, it is useful to first re-sync with the Origin that sits in Github. To that end, you can run the following code:
(venv) git fetch
(venv) git reset --hard origin/main
Basic sequence to push your local work to the remote repository :
(venv) git add .
(venv) git commit -m "desciption of changes"
(venv) git push origin main
Usefull Shell instructions
This is a useful instruction to replace recursively in one folder some text :
perl -pi -w -e 's{TOFIND}{TOREPLACE}' *.md
Here's how you can concatenate multiple commands in one line:
Add && between commands >> this will execute them sequentually provided they execute successfully